![]()
Amiga 600 from oh my to happy again
Welcome back to another installment of what can I do with my Amiga?
This time I am here to talk some about one of the machines from the Texas "Barn" find. Rich and I talked about this a little on our Podcast R-N-R Does Stuff Episode 32. This is one of the machines that where saved. Wow this and the others where so dirty it is amazing they even worked!
Now that this has been send back to my secret lab in Virginia we can dig in and try to get her all working again.
I hope you enjoy and thank you for following along.
 Oh my where do we start?
With something new I like to take things apart and inspect all the pieces. Wow was this one dirty! I did say it was a "Barn" find right?
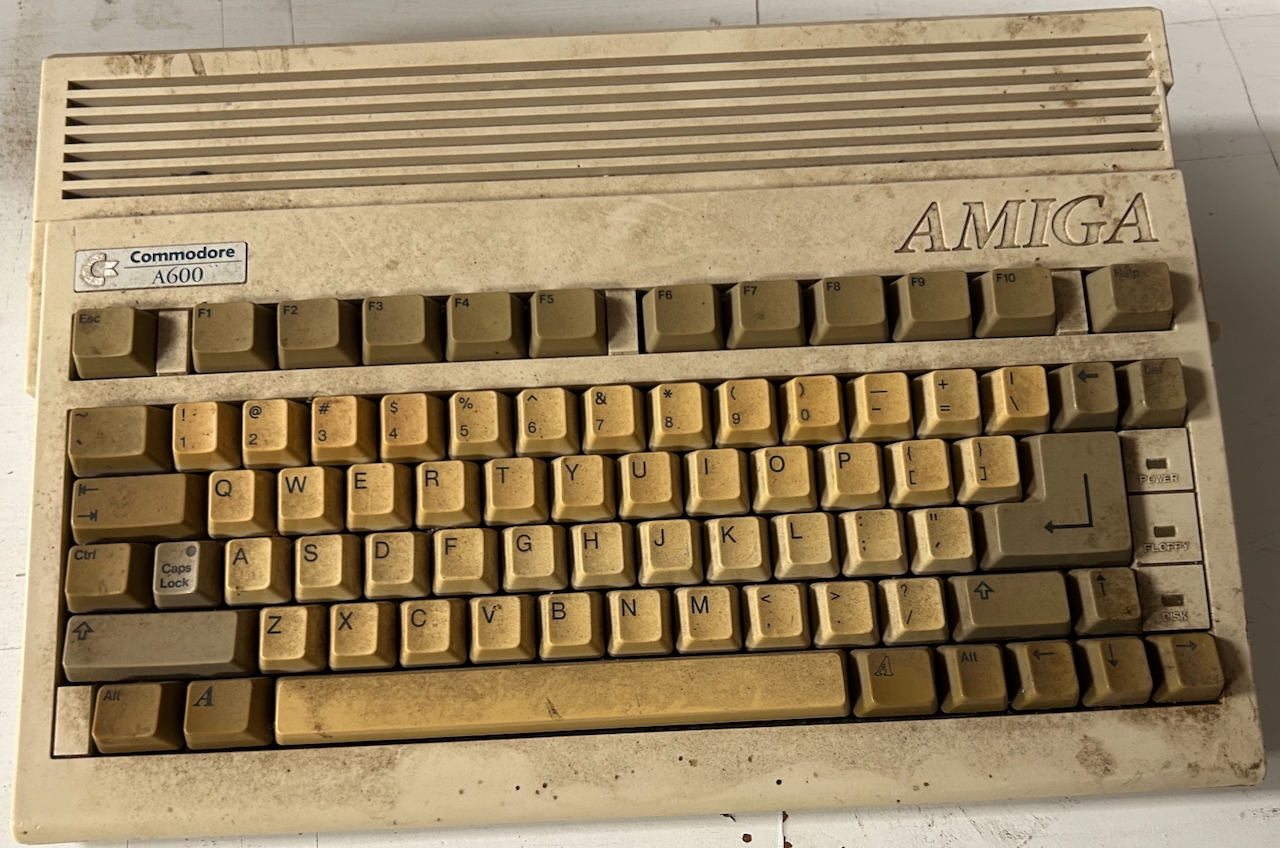
So I took everything apart and cleaned the case, keyboard and looked over the motherboard. Happily the motherboard looked surprisingly decent.
I did take all the keycaps off the keyboard and cleaned them in Dawn dish soap and water with an old toothbrush.
Sadly I didn't take as many pictures as I should have but that water was VERY dirty!
Now that she is all cleaned its time to turn her on and see what happens.
The A600 is alive! There are a few issues but wow she lives! Lets walk through what needed a little attention.
There where 2 major issues that I was aware of at this time and we will talk about a 3rd further down the article.
- The keyboard had a column of keys not working
- The colors where off on the signal out of the RGB port.
Well off to dig into these problems.
 Keyboard
We have a computer and a computer isn't that useful without a working keyboard so lets try to figure out what is going with the keyboard.
This looks like a similar issues I have had with a couple of A500s in the past so at least it isn't a brand new problem.
The unlucky part is that I have not braved fixing keyboard membranes at this point. While I have read where some people have been successful at this I decided to not take on that part of the project at this point.
So what did I do?
I looked for a replacement membrane and ordered one.
What what is a keyboard membrane?
The membrane is a tiny piece of plastic with all the circuits and pads for the keyboard keys to connect with. When the keyboard key makes this connection a circuit is completed which lets the keyboard controller know what key was pressed.
These tend to wear out, become damaged some how or just deteriorate of years of questionable storage and this one had that.
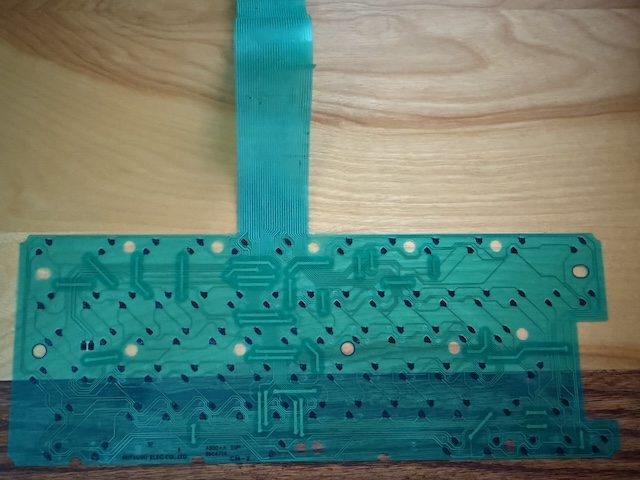
The above photo is of the original membrane I removed from the A600.
I did a little research and learned that the A600 has a green or blue membrane depending on the keyboard revision. Ok cool easy enough mine has the green one so I ordered one. After about a 2 week wait it arrived! Lets get it all back together and try things out. Hmm weird 3 keys don't work I wonder what is up with that?
Well back to looking at the motherboard to trace out circuits around the keyboard connector and the chips that are to handle the keyboard processing I didn't see any issues.
Puzzled I just randomly hold the membranes together to see if anything weird jumps out? Well low and behold not all the keypads are in the correct location on the new membrane! What is up with that?
Back to the internet for some further research.

Well neat it appears I h ave a rev 1 green membrane not the rev 2 green membrane that I ordered.
Neat I didn't even know there where 2 types of green so really there are 3 different membranes!
I found a new green membrane that works with both rev 1 and rev 2 by adding the different pads to both possible locations.
Yep another 2 week wait here for the new one to arrive and get it installed.
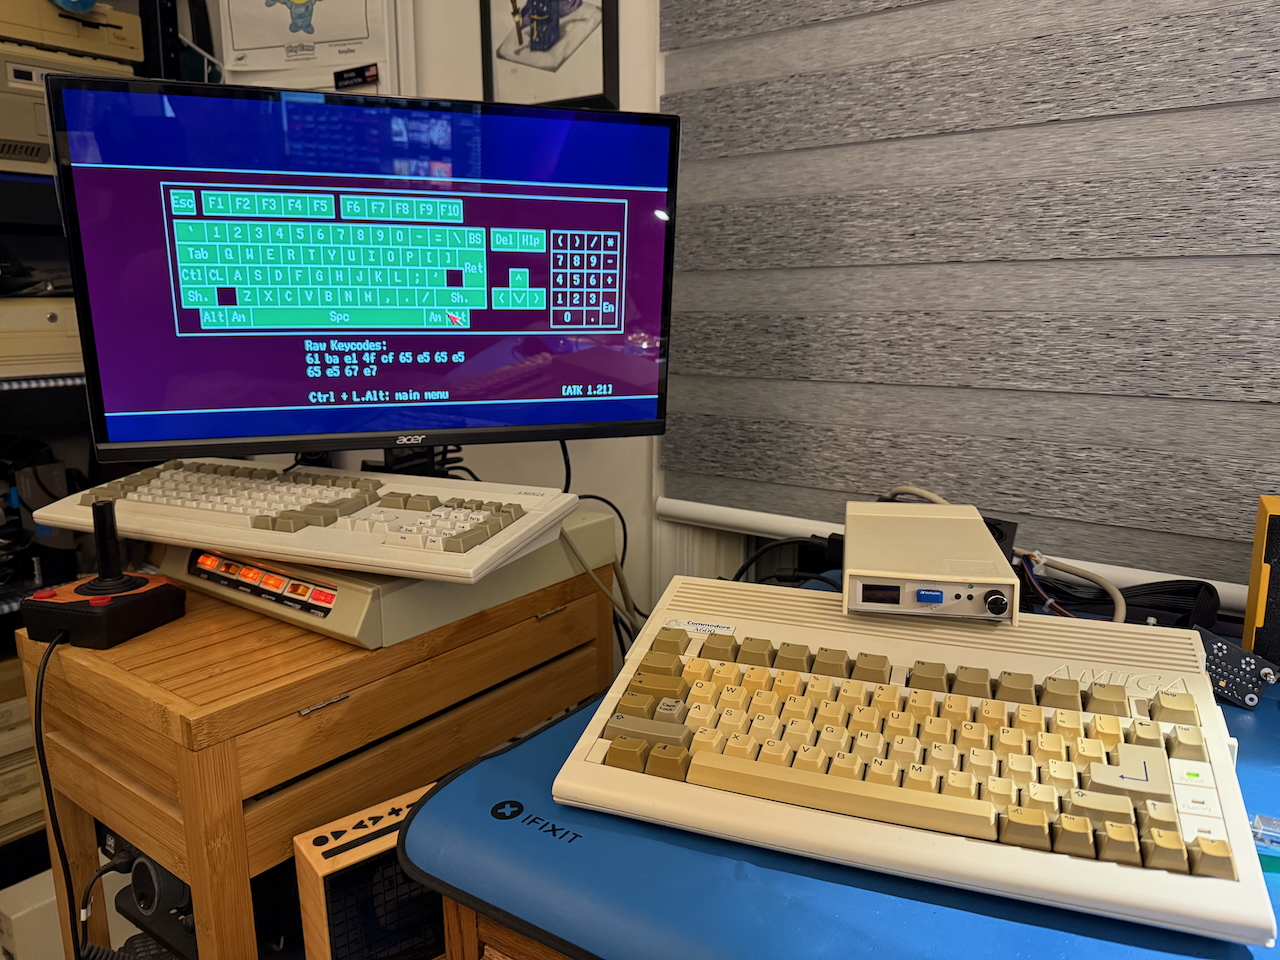
All the keys passed with flying colors using Amiga Test Kit! Yea all good to go!
Well sorta.
So I noticed I could not do a warm reboot(CTRL-LAmiga-RAmiga) for some reason and even worse the keyboard would freeze after I tried?
Oh bother that seems like a problem.
A lot of research later I found this one forum post on EAB that someone else had this same issue too. Wow I am not alone!
Here is a link to the EAB post that really give me some idea of what was happening. EAB A600 No Warm Reset
Ok you confused with the tread yet?
It took me a bit to figure out what was going on. I loaded up trusty Amiga PCB Explorer to trace out by Q511.

This took me a bit to complete trancing all the circuits around that area but low and behold there was a broken trace.
I did a small wire to complete the circuit and BAM I could do a warn reset again!
Yea the keyboard is all working!
 RGB Colors
Now dig into the RGB color problem. Seemed like something to dig into while waiting for the keyboard membranes arrive as I had the time...
When I first started I only had 1 color missing and when I finished the re-cap I had a second color missing. Whelp that didn't go as expected sadly.
Oops I did something to the RGB circuit.
Back to the internet and I learned that 2 of the RGB color circuits are on the top of the motherboard and the 3rd is on the bottom.
I guessed correctly with doing all the recaps in that area I accidentally did something to break a second trace.
Back to Amiga PCB Explorer to check all the traces to see what ones have a break.
With some time I found what 2 circuits had a break. They where both in the R232 area and luckily the components where right beside each other.
I used an snipped capacitor leg to solder on top and make the connection.
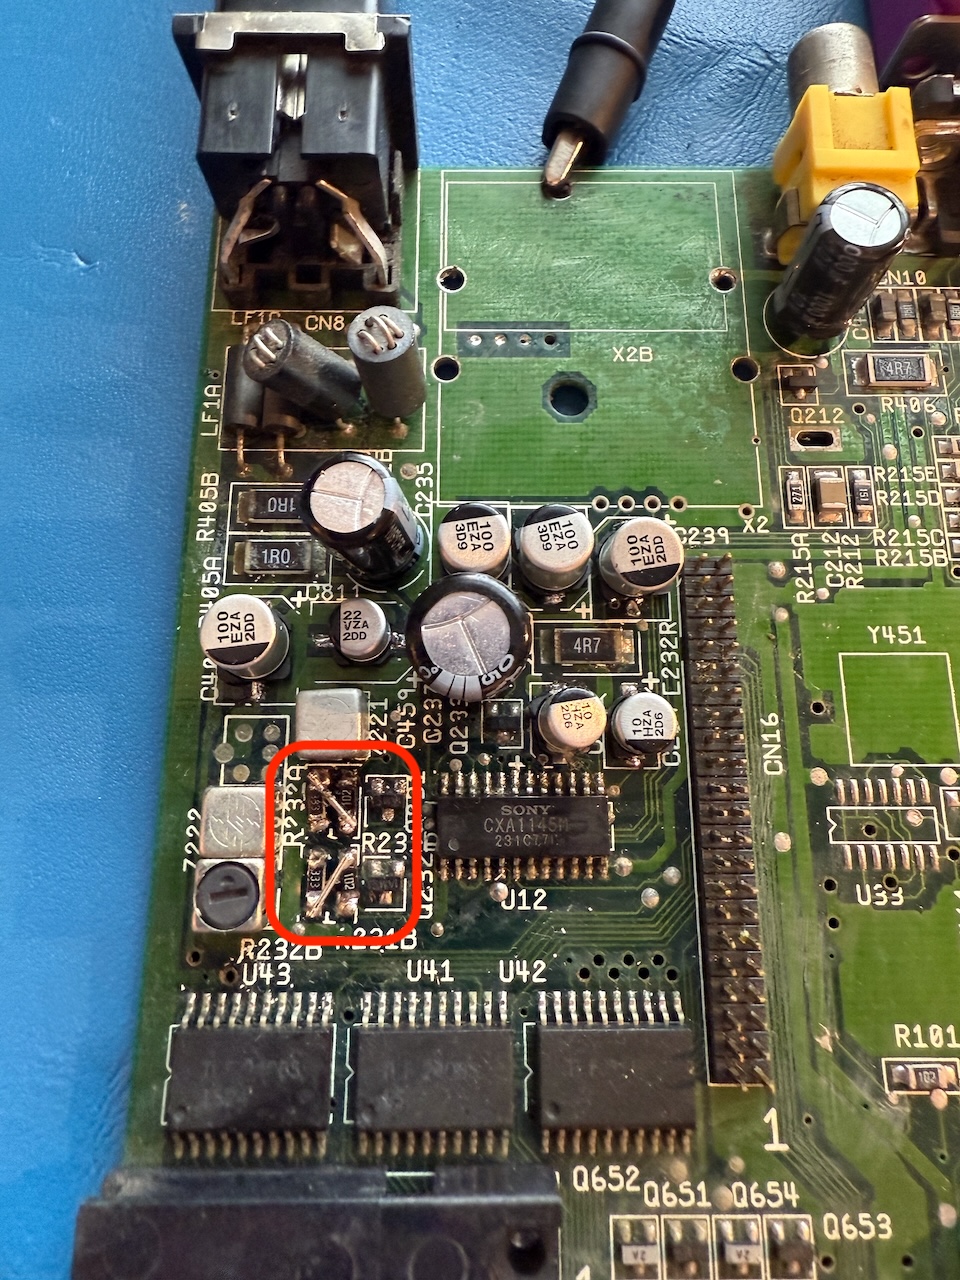
Not overly pretty but it worked.
 Challenge
This A600 had an Apollo A600 Turbo 68030 accelerator on the mother board.
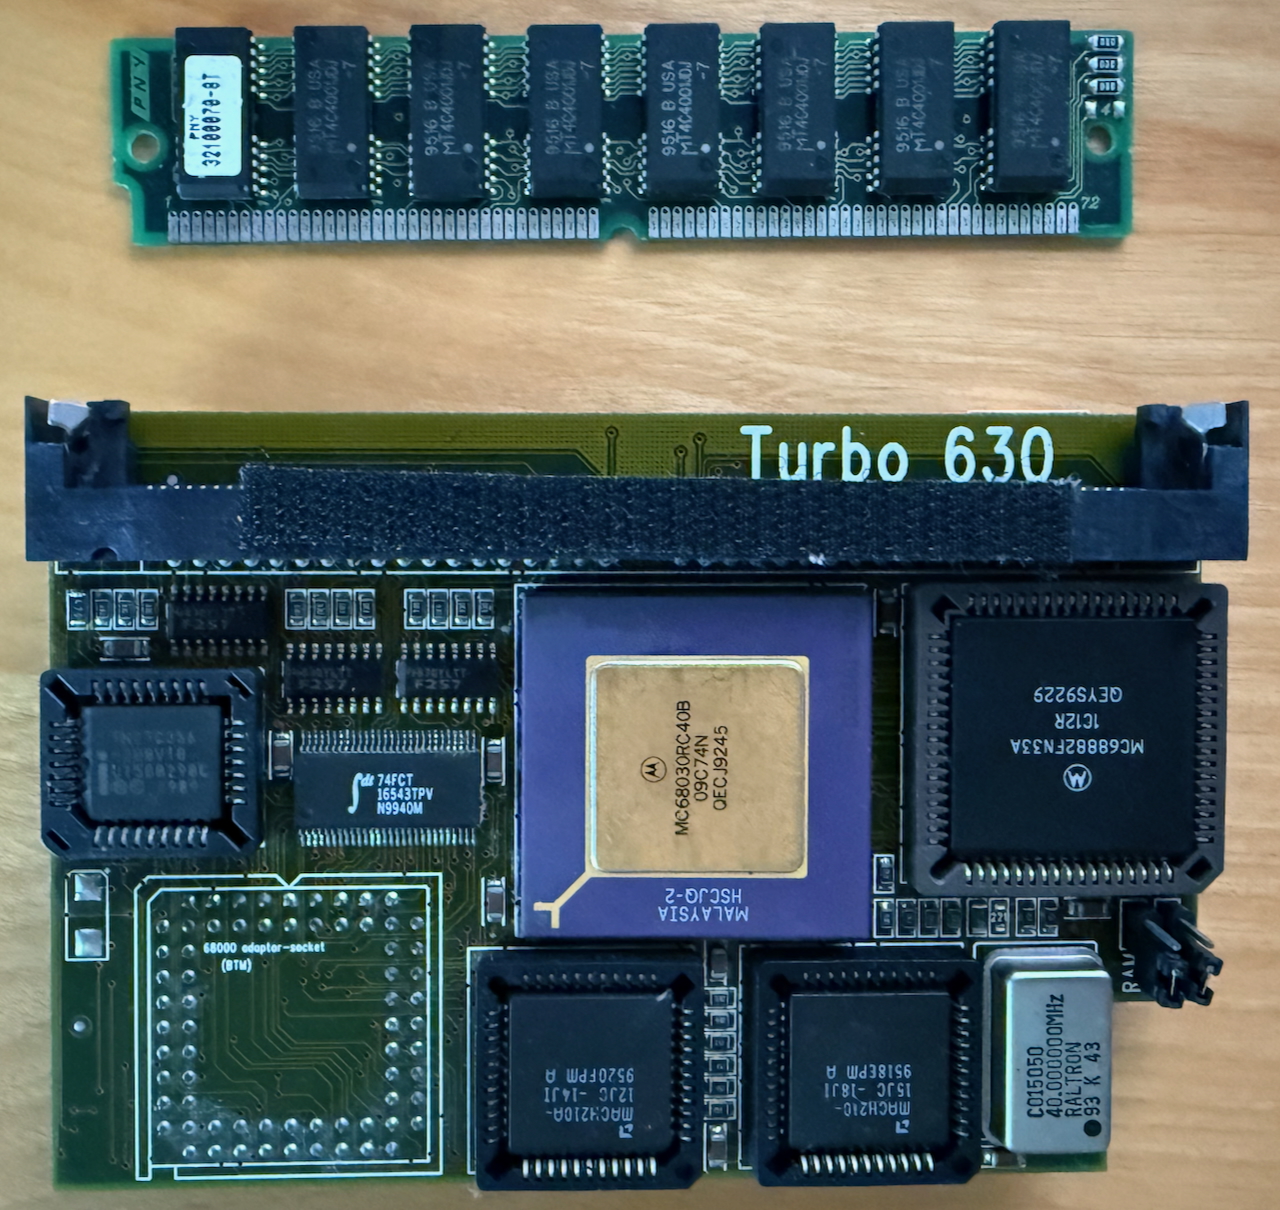
Sadly it was not working and I was unable to figure out why.
When I had it attached it to the A600 the Amiga would just start with a black screen. My guess something isn't happy on the accelerator but currently is a little out of my knowledge level sadly.
If someone knows how to fix it or has schematics to try I would love to do so. This would make a nice little accelerator for my A600 and give me a little extra RAM.
I have tried both with and without the RAM and tried changing the RAM and WAIT jumpers with no joy.
I may come back to working on this in the future but until them it will goto my Amiga archives of parts.
 Cleaned up
Well she really cleaned up nicely and am very happy with how things have gone.
I got her with the AmigaDOS 3.1 Kickstart and Workbench and left those in place.
I did add an internal 4GB IDE Compact Flash card inside running Workbench 3.1 to have a hard drive.
I may upgrade to 3.2 later but right she will mostly be a game machine 3.1 is totally fine.
I took her to my recent meet up here in Chantilly, VA DMVVCM
We had a blast playing Multiplayer DynaBlaster!
 Til next time
This has been a fun project and I learned a lot doing it.
I hope you enjoyed this Amiga adventure with me and looking forward to more in the future for more.